> ## Documentation Index
> Fetch the complete documentation index at: https://docs-dev-docs-event-stream-action-templates.mintlify.site/llms.txt
> Use this file to discover all available pages before exploring further.
# Androidアプリリンクのサポートを有効にする
> Auth0 Dashboardを使ってAuth0アプリケーションのAndroidアプリリンクサポートを有効にする方法を説明します。
[Android App Links](https://developer.android.com/training/app-links)を使用すると、アプリケーションは自身を特定の種類のリンクのデフォルトハンドラーとして指定できます。たとえば、メールにあるURLをクリックすると、指定されたアプリケーションでリンクが開きます。このガイドでは、Auth0 Dashboardを使用して、Auth0登録済みアプリケーションのAndroidアプリリンクサポートを有効にする方法を説明します。
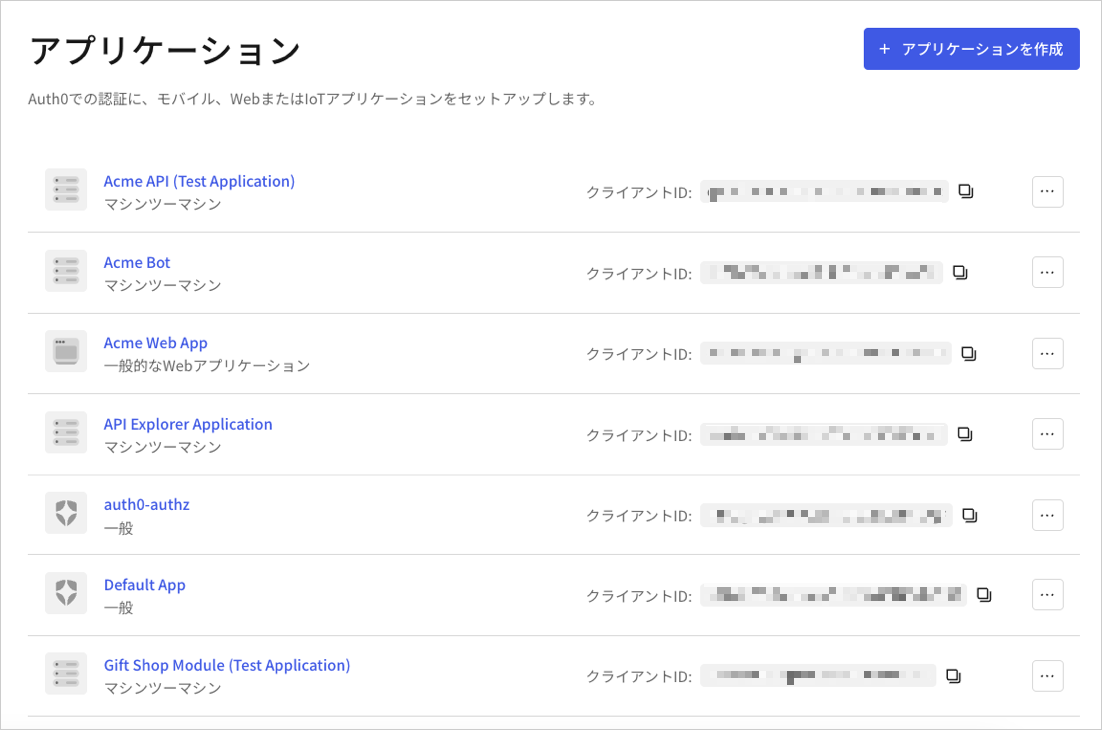
1. [[Auth0 Dashboard]>[Applications(アプリケーション)]>[Applications(アプリケーション)]](https://manage.auth0.com/#/applications)に移動し、アプリケーションの名前を選択して表示します。
 2. **[Settings(設定)]** ページの下までスクロールし、**[Show Advanced Settings(詳細設定を表示)]** を選択します。
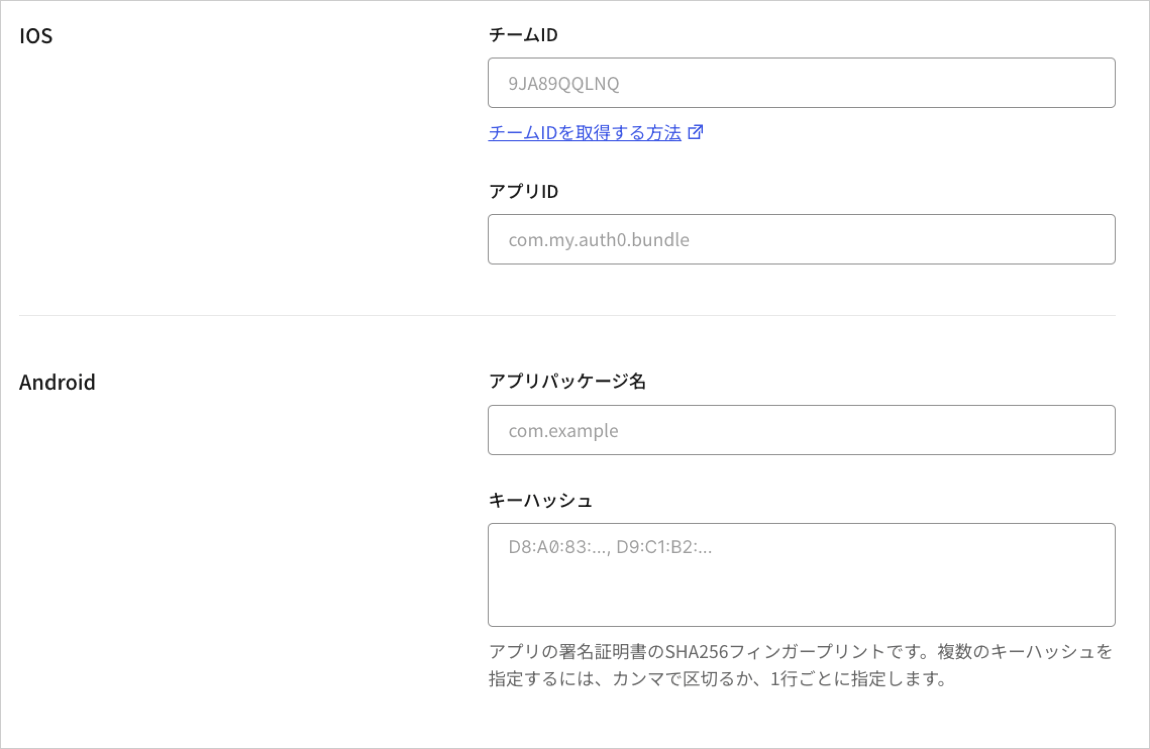
3. **[Device Settings(デバイス設定)]** を選択し、Androidアプリケーションの[[App Package Name(アプリパッケージ名)]](https://developer.android.com/studio/build/application-id)とアプリの署名証明書のSHA256フィンガープリントを入力して、**[Save Changes(変更の保存)]** を選択します。
2. **[Settings(設定)]** ページの下までスクロールし、**[Show Advanced Settings(詳細設定を表示)]** を選択します。
3. **[Device Settings(デバイス設定)]** を選択し、Androidアプリケーションの[[App Package Name(アプリパッケージ名)]](https://developer.android.com/studio/build/application-id)とアプリの署名証明書のSHA256フィンガープリントを入力して、**[Save Changes(変更の保存)]** を選択します。
 ターミナルでJavaキーツールを使ってフィンガープリントを生成するために、次のコマンドを使用できます:
`keytool -list -v -keystore my-release-key.keystore`
署名証明書の詳細については、Androidの開発者向けドキュメント「[アプリに署名](https://developer.android.com/studio/publish/app-signing.html)」をお読みください。
## リンクのテスト
1. ブラウザーで次のURLに移動します:`https://{yourDomain}/.well-known/assetlinks.json`
2. リンクに成功している場合は、以下のようなJSONを返します(読みやすいように整えてあります)。
```json lines theme={null}
[{
"relation": ["delegate_permission/common.handle_all_urls"],
"target": {
"namespace": "android_app",
"package_name": "com.mycompany.app1",
"sha256_cert_fingerprints":
["14:6D:E9:83:C5:73:06:50:D8:EE:B9:95:2F:34:FC:64:16:A0:83:42:E6:1D:BE:A8:8A:04:96:B2:3F:CF:44:E5"]
}
}]
```
アプリリンクのテストについては、[https://developer.android.com](https://developer.android.com)で「[Androidアプリリンクを検証する](https://developer.android.com/training/app-links/verify-site-associations)」をお読みください。
ターミナルでJavaキーツールを使ってフィンガープリントを生成するために、次のコマンドを使用できます:
`keytool -list -v -keystore my-release-key.keystore`
署名証明書の詳細については、Androidの開発者向けドキュメント「[アプリに署名](https://developer.android.com/studio/publish/app-signing.html)」をお読みください。
## リンクのテスト
1. ブラウザーで次のURLに移動します:`https://{yourDomain}/.well-known/assetlinks.json`
2. リンクに成功している場合は、以下のようなJSONを返します(読みやすいように整えてあります)。
```json lines theme={null}
[{
"relation": ["delegate_permission/common.handle_all_urls"],
"target": {
"namespace": "android_app",
"package_name": "com.mycompany.app1",
"sha256_cert_fingerprints":
["14:6D:E9:83:C5:73:06:50:D8:EE:B9:95:2F:34:FC:64:16:A0:83:42:E6:1D:BE:A8:8A:04:96:B2:3F:CF:44:E5"]
}
}]
```
アプリリンクのテストについては、[https://developer.android.com](https://developer.android.com)で「[Androidアプリリンクを検証する](https://developer.android.com/training/app-links/verify-site-associations)」をお読みください。